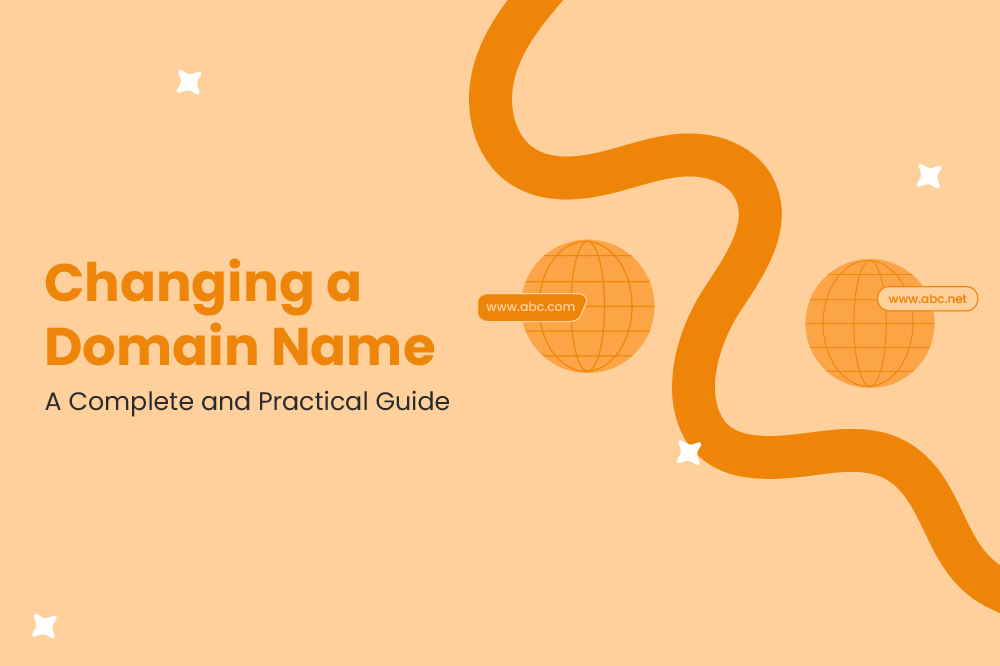
Changing a domain name is more than a branding update; it’s a strategic decision that affects visibility, trust, SEO, and long-term digital growth. When done well, it strengthens brand identity. When done poorly, it leads to traffic drops, broken links, and lost equity.
This guide breaks down the why, when, and how to change a domain name.
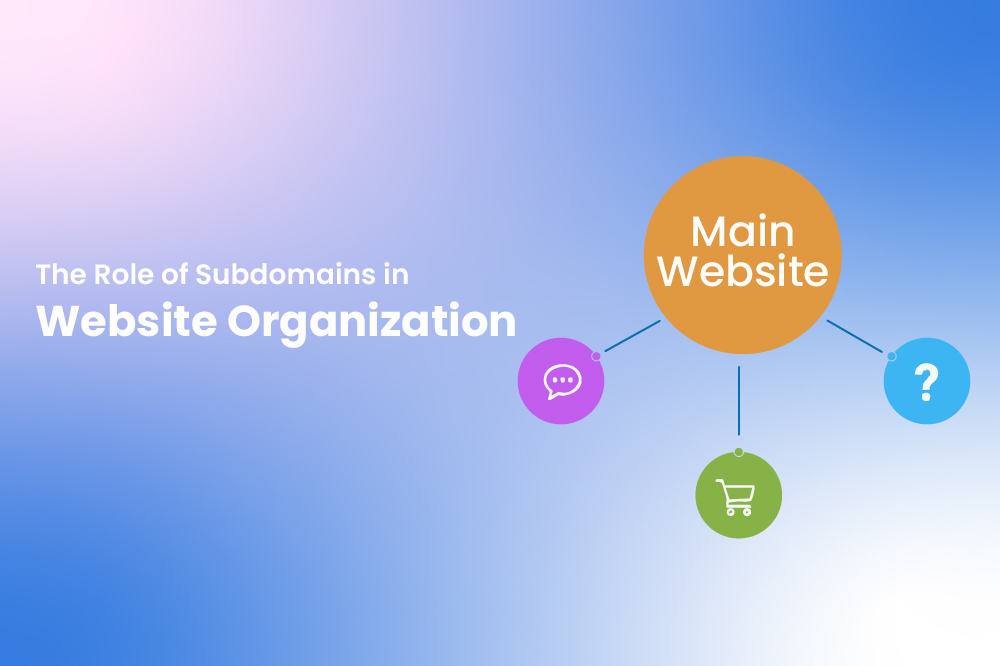
What Is a Domain Name?
A domain name is the unique web address people type to visit your website, like yourbrand.com. It acts as your online “nameplate,” showing users and search engines where your site lives. A domain typically includes a protocol (https://), a name (yourbrand), and an extension or top-level domain (.com, .in, .store, etc.).
Choosing a clear, memorable, and relevant domain is important because it strengthens your brand identity, improves search visibility, makes your site easier to find and share, and signals professionalism. Whether you’re using a generic .com, a country-specific extension, or an industry-focused TLD like .store or .shop, your domain is essentially your digital identity and changing it is a strategic decision that affects how the world finds and recognizes your brand.
What Does “Changing a Domain Name” Mean?
Changing a domain name simply means replacing your website’s current domain with a new one.
Example:
oldbrand.com → newbrand.com
It can be part of:
- A rebrand.
- A business expansion.
- A shift to a more memorable or relevant name.
- Consolidating multiple domains.
- Securing a better, shorter, or more authoritative domain.
This action involves updating the domain where your website is accessed, but it does not necessarily mean you're performing a full, technical domain migration.
To understand the deeper technical version of this process (which involves redirects, sitemaps, Search Console actions, and more), you can refer to the complete Domain Migration Guide your in-depth resource on safely moving an entire website from one domain to another.
What Actually Changes When You Change a Domain Name
This decision triggers updates across multiple systems:
- Your website’s primary domain.
- All URLs.
- Internal links.
- Back-end settings.
- Email addresses. (if domain-linked)
- DNS settings.
- Redirects.
- Sitemaps and search engine submissions.
The domain change is the first step the real work happens in ensuring everything points correctly to the new domain and that search engines understand the change.
How to Change Your Domain Name
1. Choose the new domain
Changing a domain starts with selecting a name that aligns with your brand identity and long-term business plans. A strong domain improves trust, memorability, and search visibility.
Checklist:
- Keep it short and easy to spell.
- Ensure it reflects your brand or offering.
- Avoid numbers, hyphens, and confusing words.
- Check for trademarks or copyright conflicts.
- Verify domain availability across TLDs. (.com, .in, etc.)
2. Back up your website
Before making any domain-level changes, a full website backup protects you from unexpected issues. If anything breaks during the process, you should be able to restore it instantly.
Checklist:
Take a complete file backup (themes, uploads, custom assets)
- Export database.
- Store backup in a safe offline/cloud location.
- Confirm that the backup is restorable.
3. Update the primary domain in your CMS
Most CMS platforms allow you to change your main domain with a single setting. This tells your system to load all content under the new address.
Checklist:
- Locate your CMS domain settings.
- Replace old domain with the new one.
- Update site URLs and home URLs if required.
- Flush caches or CDN if enabled.
4. Update DNS Records
Your new domain must point to the correct server. DNS updates ensure visitors land on your actual website instead of an error page.
Checklist:
- Update A, CNAME, or AAAA records.
- Add MX records if email is connected.
- Clear or lower TTL for faster propagation.
- Verify propagation using DNS lookup tools.
5. Set up 301 redirects
301 redirects are the most critical step in protecting SEO. They tell search engines that the move is permanent and transfer ranking signals from the old domain to the new one.
Checklist:
- Redirect every URL to its exact equivalent.
- Avoid sending URLs to the homepage.
- Create rules for dynamic URLs.
- Test status codes. (should be 301, not 302)
6. Update internal links
Even with redirects in place, internal links should point directly to the new domain. Clean internal links help search engines crawl efficiently and avoid unnecessary redirect chains.
Checklist:
- Update menu links.
- Update footer links.
- Update product/category URLs. (for ecommerce)
- Fix image/file paths.
- Run a link checker to catch missed links.
7. Regenerate sitemaps
Search engines must see a fresh sitemap that includes URLs from the new domain. This helps them crawl and index your updated structure faster
Checklist:
- Generate a new sitemap from your CMS or SEO plugin.
- Remove/disable old sitemap files.
- Add the new sitemap to robots.txt.
- Submit the sitemap in Google Search Console & Bing Webmaster Tools.
8. Test thoroughly
After switching domains, test the entire site as if you were a first-time visitor. This ensures no functionality, design, or SEO-related element breaks.
Checklist:
- Test page loads across devices.
- Check redirect status codes.
- Submit forms and test email notifications.
- Test checkout flow.
- Verify images, scripts, and styles load correctly.
- Check canonical URLs and metadata.
9. Monitor performance
The first few weeks after a domain change are crucial. Regular monitoring helps you identify crawl issues, ranking shifts, and traffic drops quickly.
Checklist:
- Track Google Search Console for indexing, 404s, and coverage.
- Monitor keyword rankings and traffic patterns.
- Check analytics for referral and direct traffic changes.
- Watch for sudden spikes in crawl errors.
- Monitor page speed and server response times.
Best Practices for a Smooth Domain Transition
A future-ready approach includes:
1. Keep content and structure the same
Avoid redesigns during a domain change. One major change at a time helps maintain stability.
2. Maintain both domains temporarily
Allow search engines time to process redirects.
3. Communicate the change clearly
Update platforms where your domain appears: profiles, ads, business listings, newsletters, etc.
4. Document everything
Keep a clear, simple record of:
- Old domain
- New domain
- Redirect mapping
- DNS changes
- Launch timeline
This helps prevent errors and improves long-term maintainability.
What You Should Remember
Switching to a new domain name is a bold step and it’s completely achievable. With proper planning and structured execution, you can protect your rankings, preserve your traffic, and give your brand the fresh start it deserves. Every great digital transformation begins with a confident decision, and this one is no different.